
Getting started with Erista
Quick Links
People
Find out how to manage your congregation with Erista People.
Groups
Managing groups with Erista through Small Group and Ministry Group feature.
Communication
Reaching your congregation via Email, WhatsApp, or SMS.
Account Settings
Language settings, account settings, and communication quota.
New Account Registration
If you don't have an Erista account yet and want to try Erista, you can start using Erista today by following these steps (only 5 minutes).
Registration through the website
To register a new account, there's only one thing you need:
- An email address that you have access to
Basically, the ideal email address is a church email address. However, if you don't have access to a church email address, you can also use your personal email address.
If you have prepared the above, then you are ready for the next step:
- Visit the registration page on our website: link
- Fill in the registration form completely and correctly
- Agree to the terms & conditions of use of Erista along with the existing privacy policy
- Click on Create account button
- The system will send an email along with a link to verify the email address you used in the registration form. Continue to the Check inbox section to verify the email address
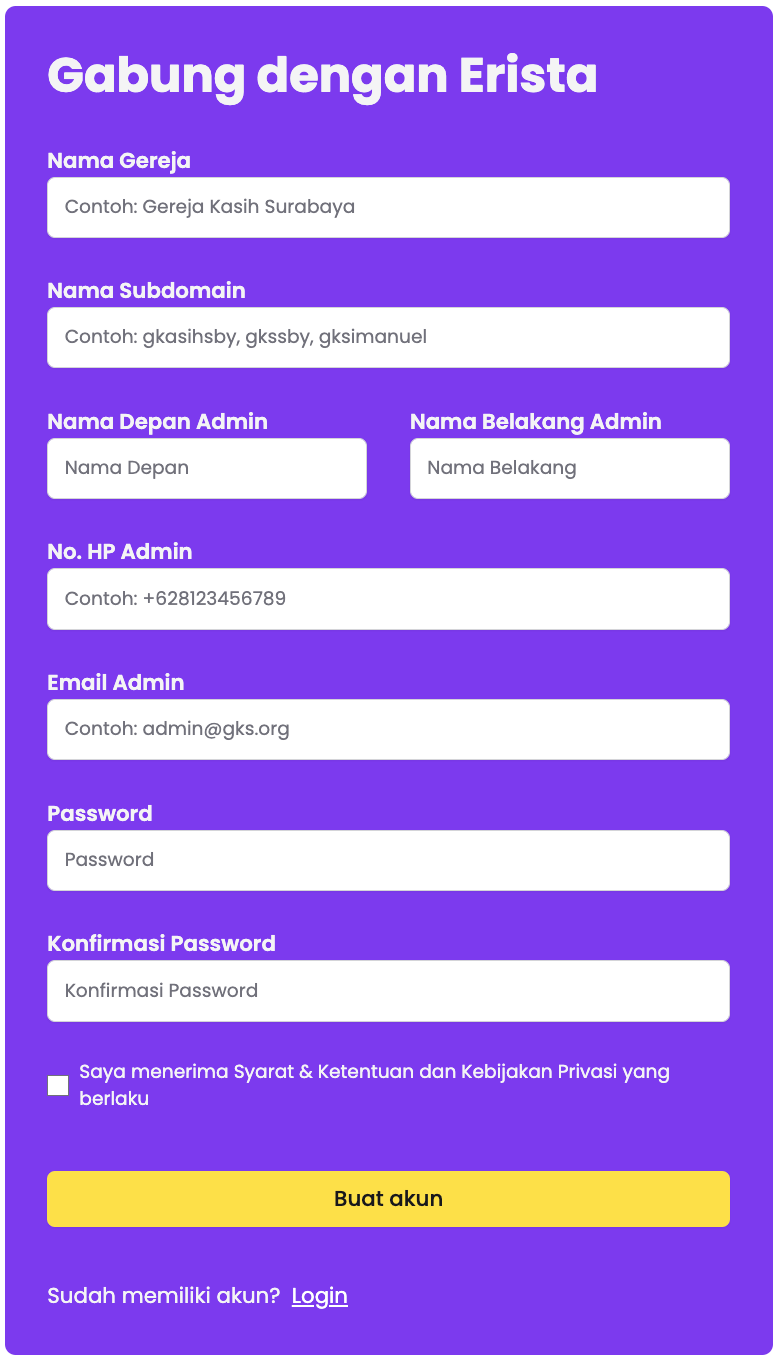
What is subdomain?
The subdomain is the unique name used to access your church's Erista website. Enter the subdomain in lower case, 3 to 20 characters. For example, the Surabaya Grace Church can choose the gks subdomain, so it has access to https://gks.erista.io
Check your inbox for email address verification
After filling out the registration form, the Erista system will send an email along with a link for verification to the email address you used in the registration form above. For that, you need to check your inbox and open the email that was just sent by Erista.
Can't find the verification email from Erista?
Sometimes the system takes a few minutes to successfully send the email. Wait a few minutes. In addition, emails can also go to the spam or junk folder. Please also check the spam or junk folder in your email. If it's been a long time and you haven't received a verification email from us, please contact us immediately.
If you have received a verification email from Erista, follow these steps:
Press the verification button in the email.
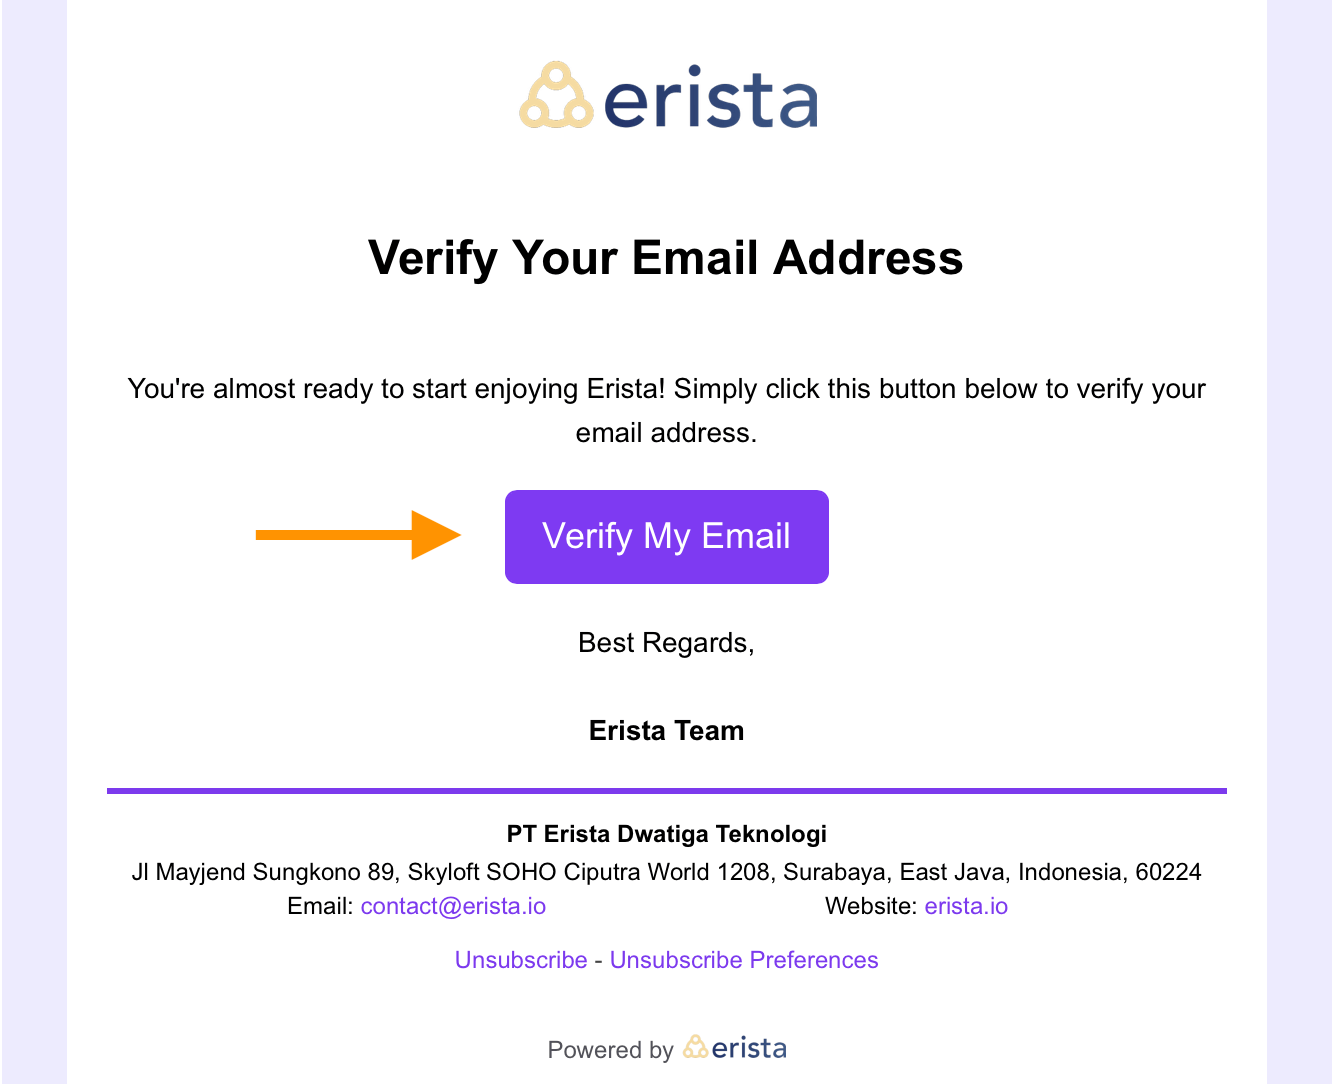
If successful, you will see a message that your email address has been verified and your account has been successfully created by the system.
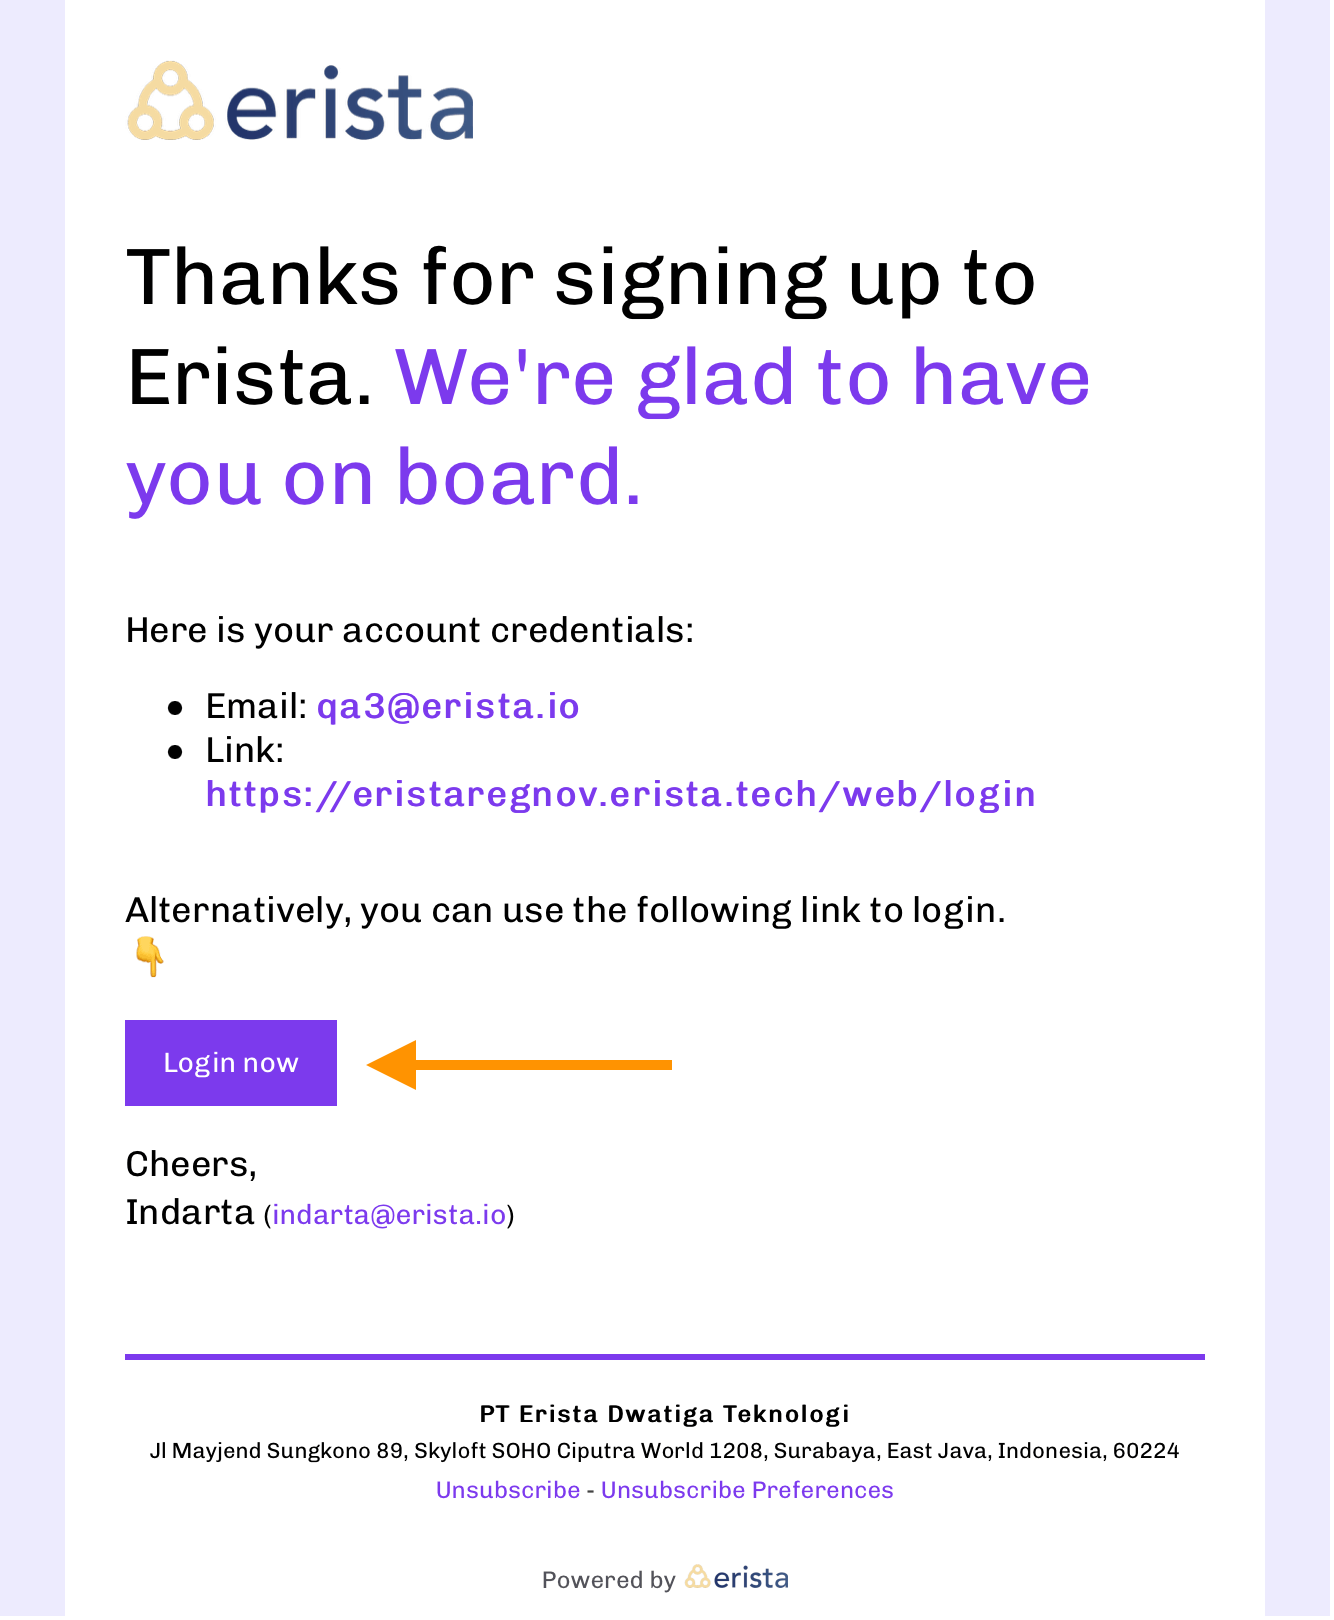
You will also see a link to go directly to your Erista account. Click on the link to go to your Erista account login page.
You will also receive confirmation via email that your Erista account has been successfully created, and a link to the login page will also be included there. Save this email.
Create bookmarks for your Erista account
Save the link to your Erista account login page as a bookmark in your browser or on your phone for easy access next time.
Login to your new account
If your Erista account has been successfully created by Erista, you will also receive a confirmation email from Erista containing details about your account. Then, you can start logging in and using Erista. To log in, follow these steps:
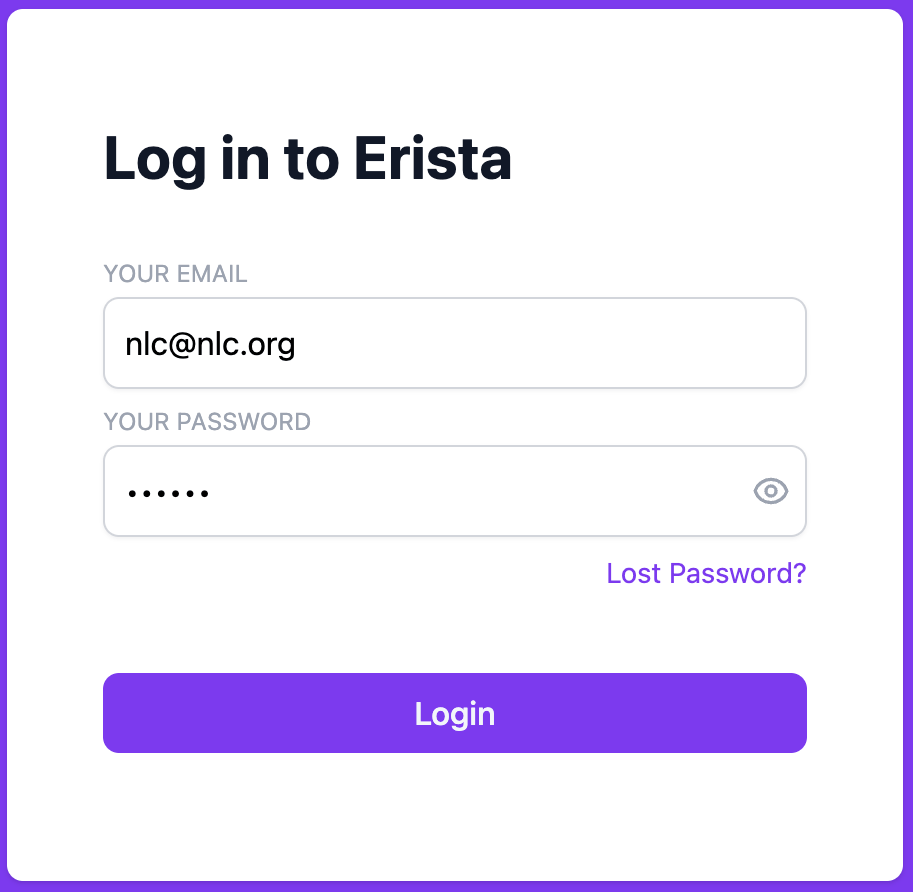
- Make sure you are on the login page on your Erista account (make sure the subdomain matches what you specified during registration)
- Enter your email address in the email field. The email address is the one you used during registration
- Enter your password in the password field. Password is the password that you have specified during registration
- Press the Login button. If your email and password are correct, then you will be able to successfully enter your Erista account page.
If you require further assistance, please contact us.
The first things that you do after successfully logged into your account
If you have managed to log in to your account, Congratulations! Here are a few things that we recommend you setup first on your newly created account:
- Update church profile guide
- Update user profile guide
- Invite other church admins to help manage your church with Erista guide
- Input congregation data guide
- Input small groups and ministry groups small group ministry group
Get help
If you need further assistance, you can reach us through a few methods listed below. We will gladly help you and your church.
Chat via Website
You can chat with us directly via a built-in chat system on your web page. To send a message via website, please follow this direction:
- Ensure you are currently in Erista Website or your Erista account.
- On the bottom left of your screen, there is a yellow chat button. Press that button.
- A chat window will appear. Write your message on the designated location.
- Press the send button.
- Please wait patiently, our staff will assist you as soon as possible.
- Do not forget to leave your email address there so that our staff can send you a reply to your email as well.